This article will guide you on how to enable MFA on your Pacific College of Health and Science
Office 365 (aka, Microsoft applications, Emails, and Moodle) account.
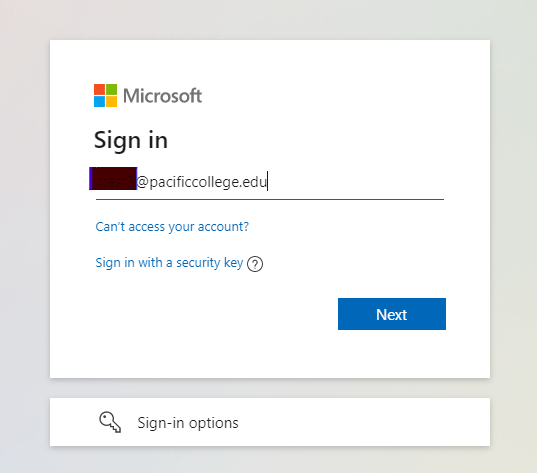
Step 1
Go to "My Account, Security info" if you're NOT signed in, please sign in using your Pacific College email credentials.
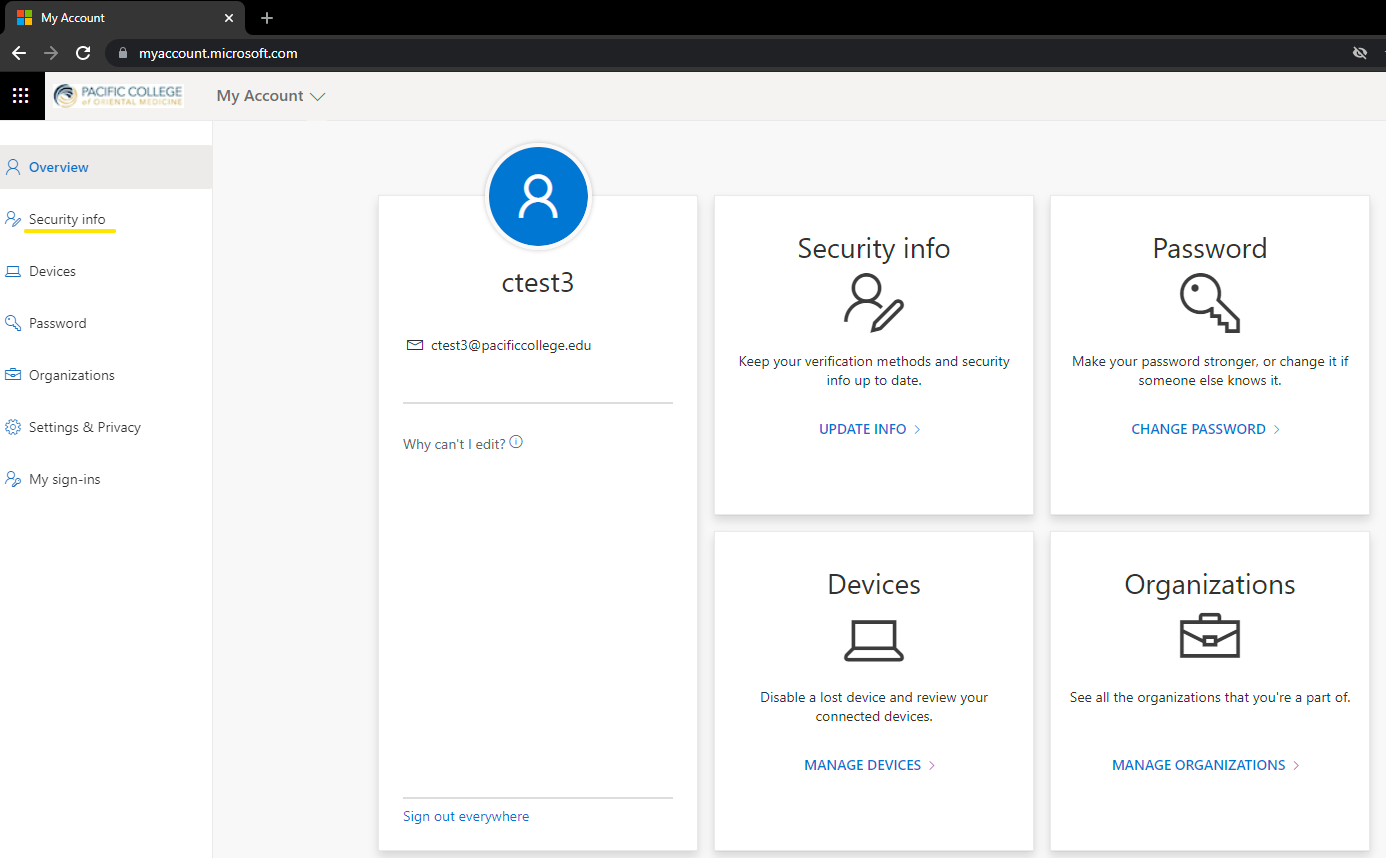
Step 2
On the next window, select Security info from the left-hand-side column
Step 3
Once on the Security info page, click Add method.

This is where you will add your secondary method of authentication.
Step 4
You can select Phone, Authenticator app, or both.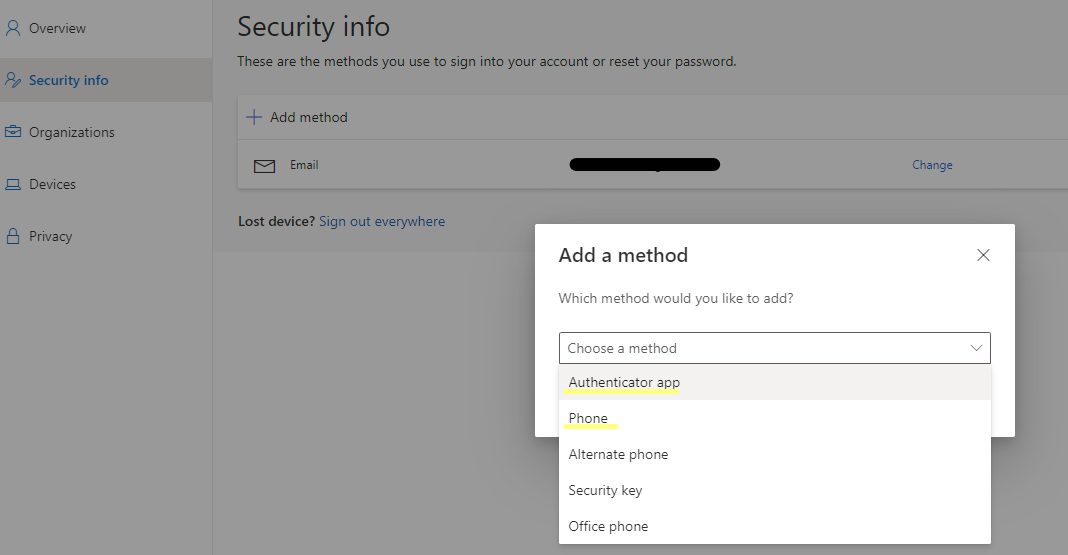
In this example, we will set up the Phone as our second factor of authentication. select Phone from the list.
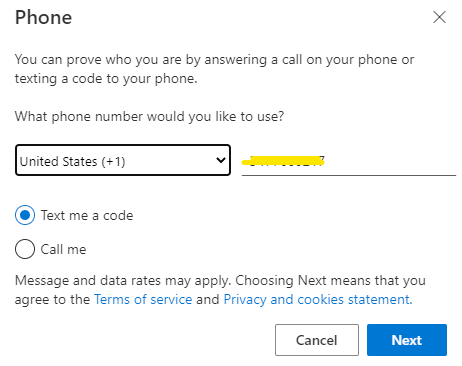
Step 5
Input your phone number and select either the Call me option or Text me a code.
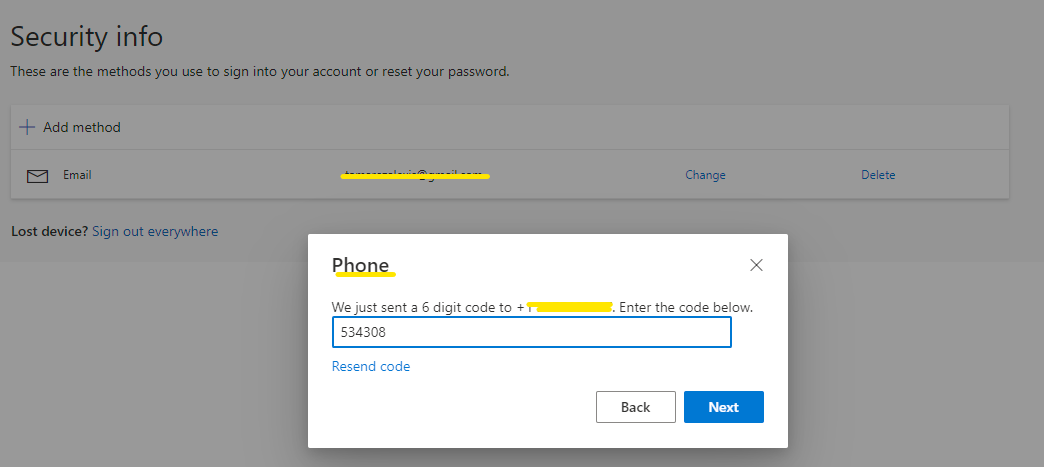
Step 6
Enter the 6 digit code that was texted to you or press # if you selected the Call me option.
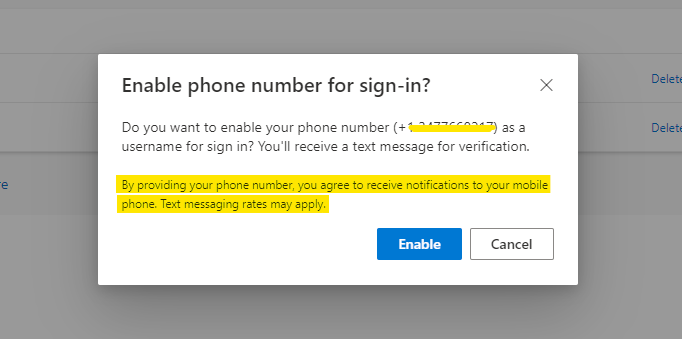
Once you have successfully added your phone number, you will see a notification above the Security info title.
Click on Enable, to set the phone as the default second factor of authentication to use when login into your account.

Click Enable
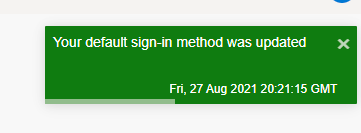
Once completed you will see a notification appear on the top right of your screen.

At this point, you have completed the MFA (Multi-factor authentication) set up using your phone number as your default second factor of authentication method.
To use the Microsoft Authenticator app as your default second-factor authentication method.
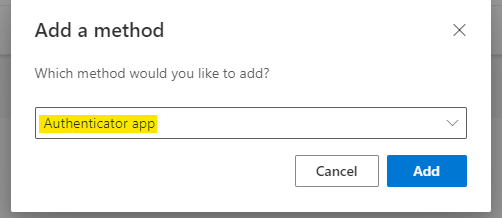
1. Go back to step 4 and select the Authenticator app
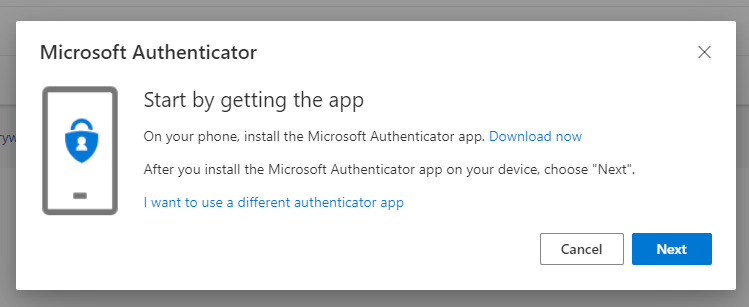
2. Start by downloading the Microsoft Authenticator app on your mobile device. Here are some instructions.
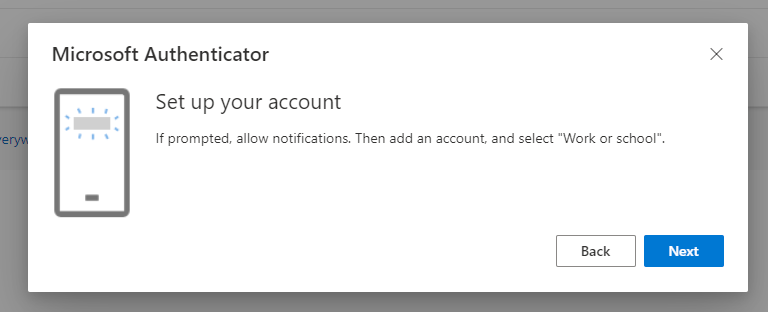
3. Once you open the app, select Add an account and select "Work or school"
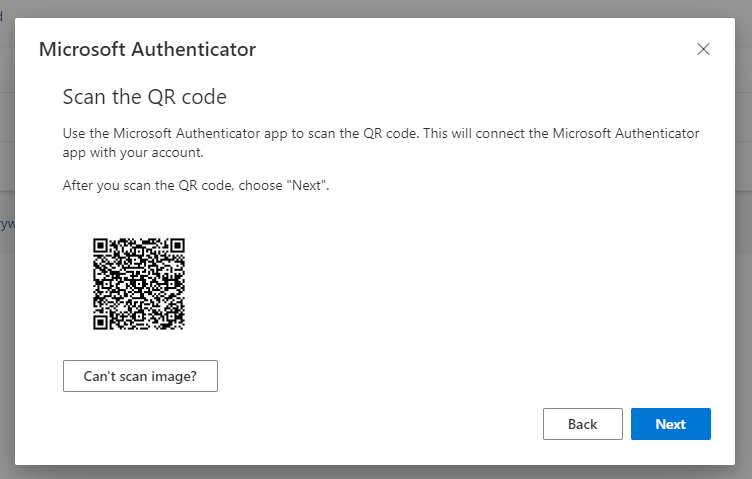
4. Scan the QR code and click Next
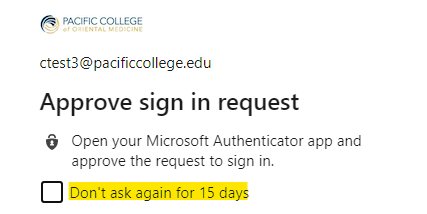
5. At this point you will receive a notification on your phone to approve your login request from the Microsoft Authenticator application.
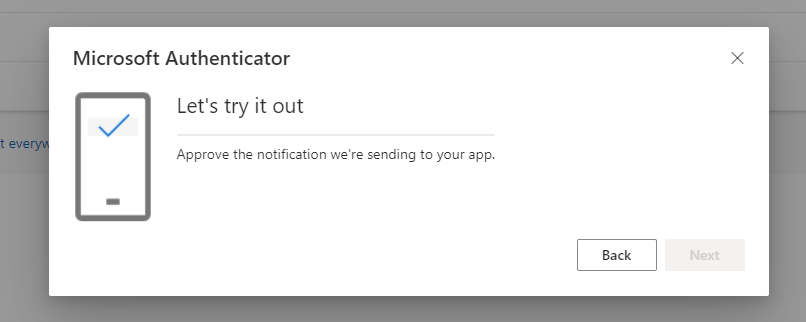
- Approve the notification
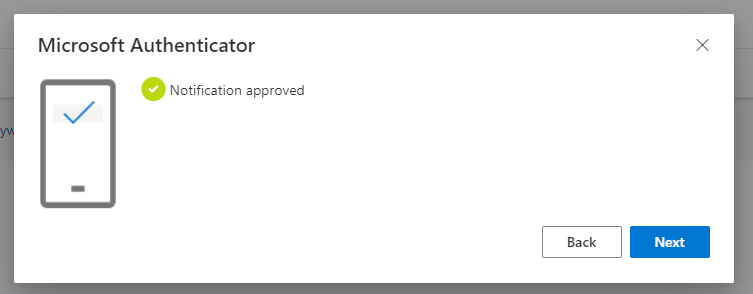
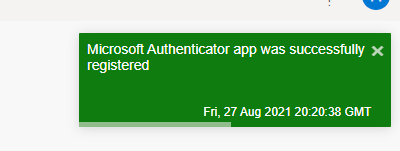
6. Once completed you will see a notification on the top right of the window.
To set the Microsoft Authenticator as the default second-factor authentication method.
1. Click on, Set default sign-in method and select Microsoft Authenticator as the default method.
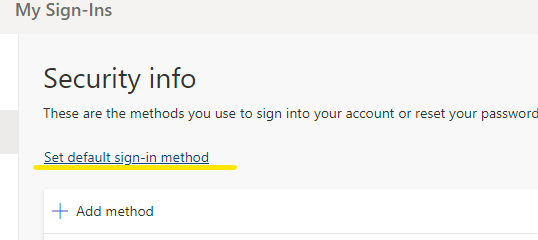
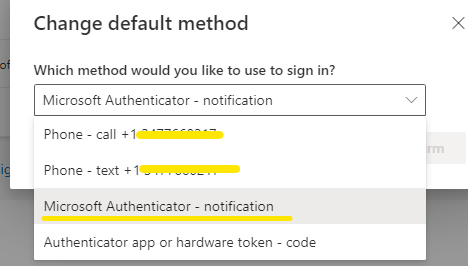
2. This concludes the setup