MFA (Multifaction Authenticator)
To provide an additional level of security for sign-ins, you must use multi-factor authentication (MFA), which uses both a password, which should be strong, and an additional verification method based on:
- Something you have with you that is not easily duplicated, such as a smartphone.
Tip* I recommend setting up the MFA using the Microsoft Authenticator app but, it will require you to download and install a mobile application on your smartphone.
Please follow the steps below to get started.
Setting up your secondary email is important to assist you to regain access if your device or password get stolen or compromised
Setting up your secondary email.
Step 1
Once you have received your email address and temporary password that was emailed once registered.
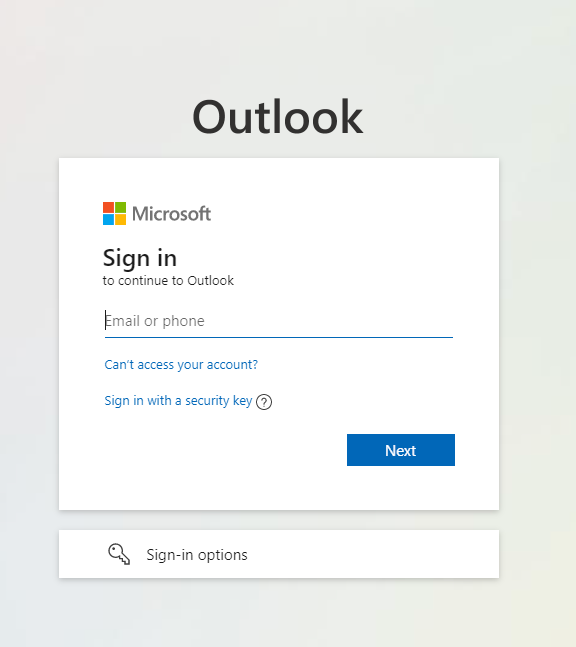
Navigate to Office 365
Step 2
Type in your Pacific College email address (in the email you received), and click the "Next" button
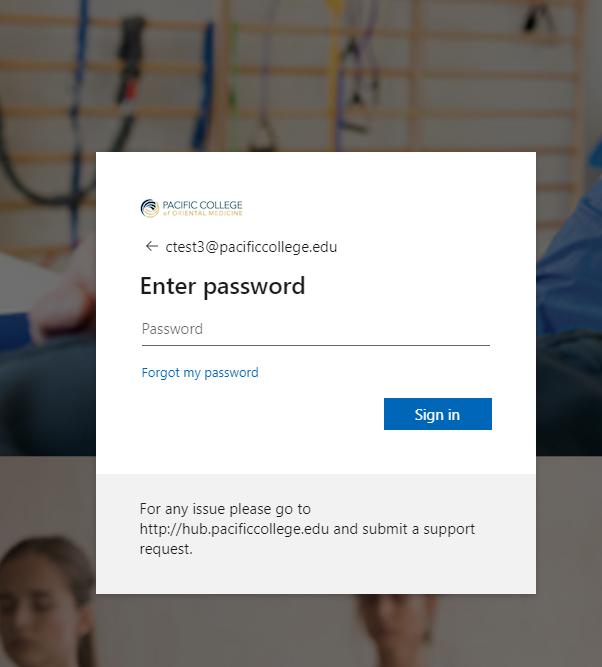
Step 3
Type the temporary password you were provided then click the "Sign in" button
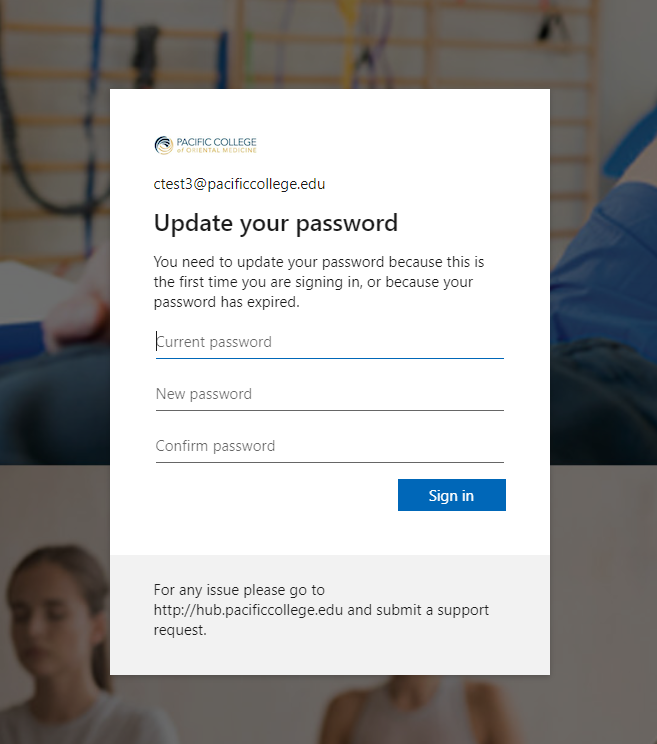
Step 4
Next, you'll create a new password. Once done, click the "Sign in" button. Please note: your password must be at least 8 characters
Step 5
At this point, you’ll be prompted for additional information, click on the "Next" button.
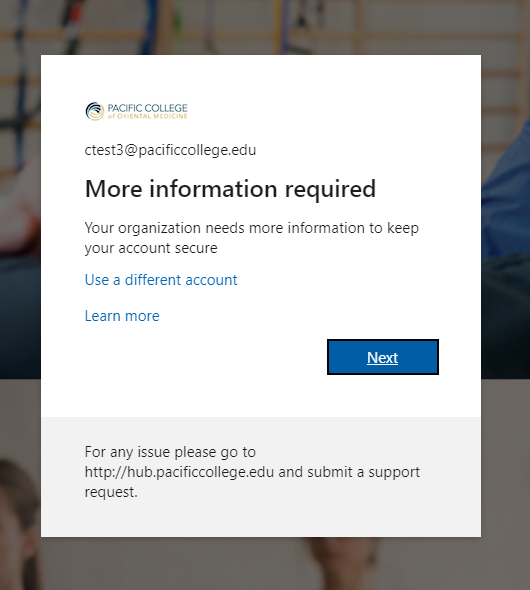
- The following window Keep your account secure will ask you to enter the second factor of authentication. It's recommended to set up MFA but it is not required. Follow the rest of this article for instructions on setting up MFA.
- In this example, we will be using the secondary email method.
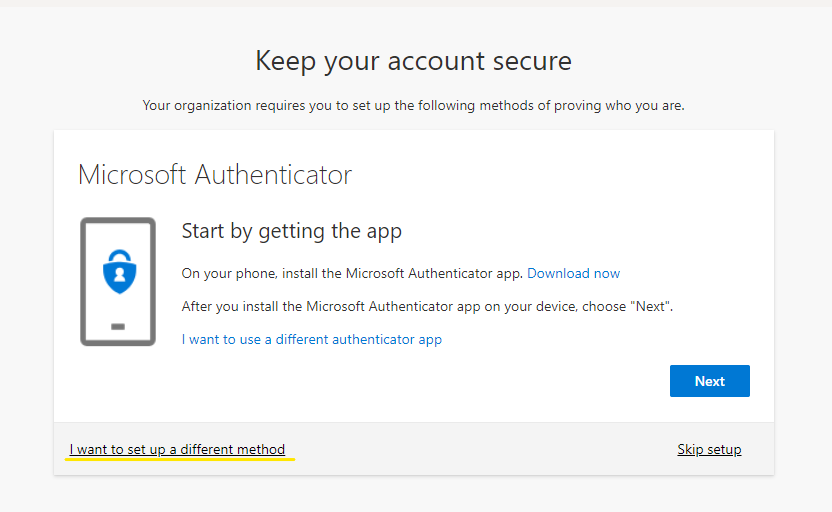
Step 6
Click on "I want to set up a different method" located in the bottom left of the window.
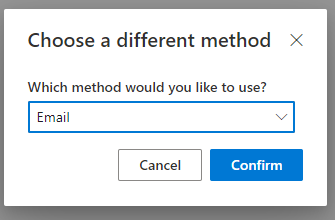
Step 7
Select Email from the dropdown and click Confirm.
Step 8
Enter your personal email address and click Next.
- A code will be sent to the email entered on the previous step for verification. (example of the email that will be sent, below.)
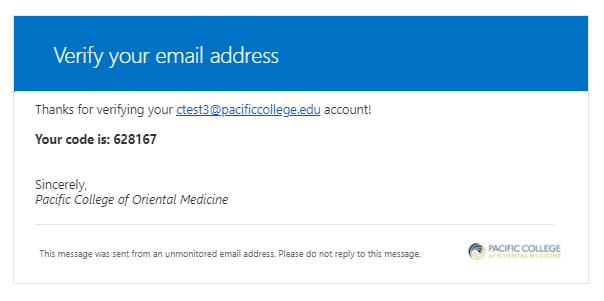
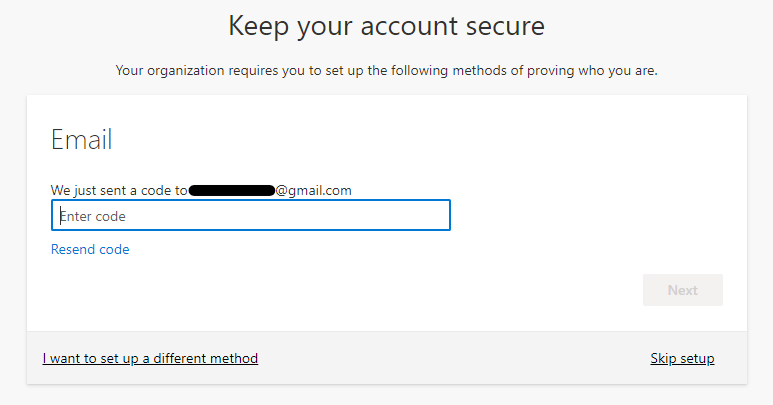
Step 9
Copy the verification code and paste it in the blank area and then click Next.
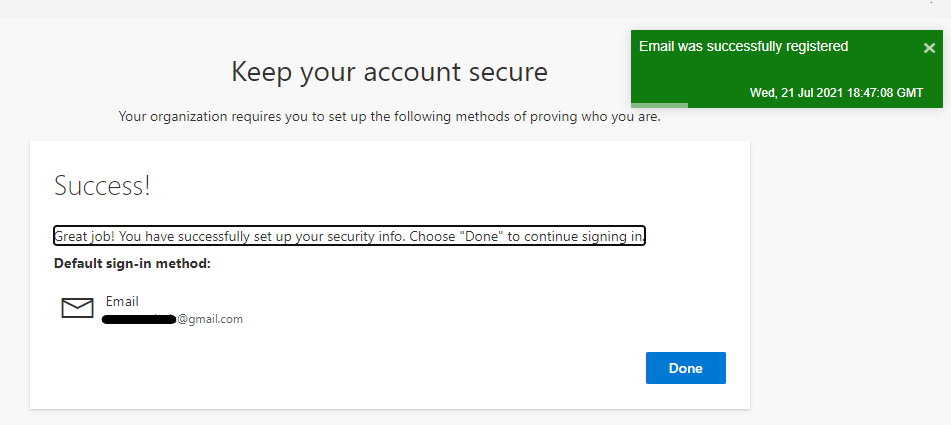
Step 10
You will receive a notification once the email has been registered, then click Done.
DeleteSetting MFA using the Phone number
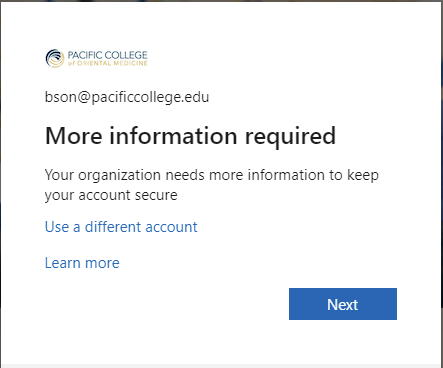
Step 1
The next time you sign in, you'll be prompted to provide more information. Click Next
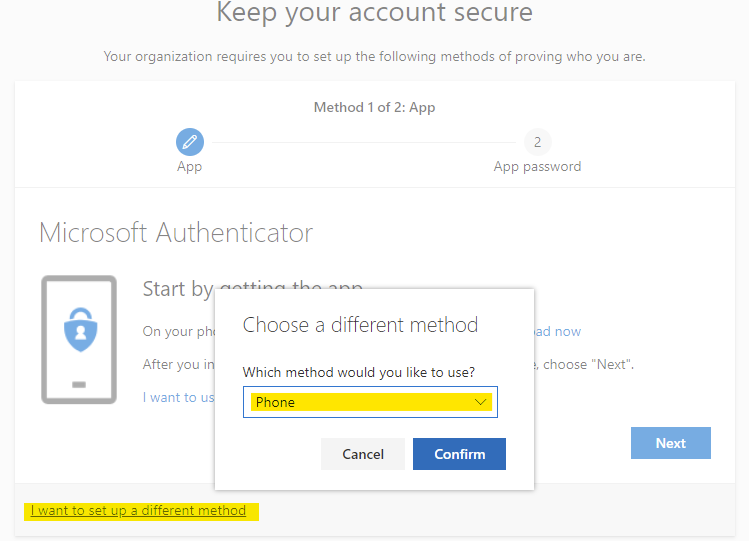
Step 2
On the next window, select "I want to set up a different method", select Phone from the list then press Confirm
Step 3
Choose your country code and enter your phone number. Select either Text me a code or Call me.

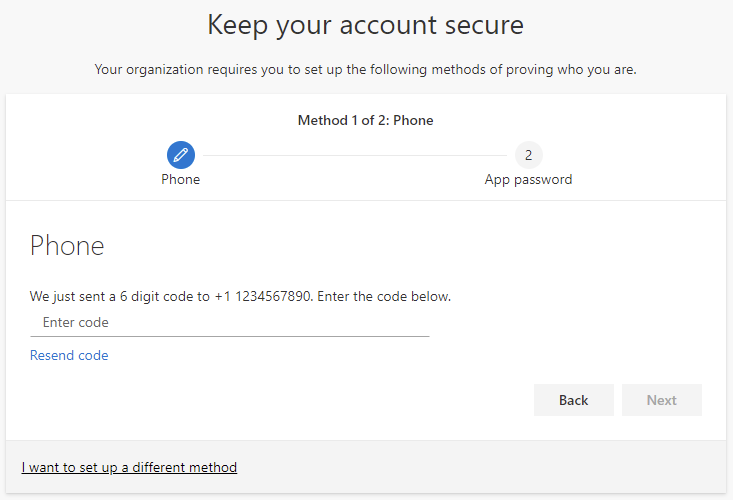
Step 4
Enter the 6 digit code that was sent via Text Message or Phone call and click Next.
Step 5
This completes your MFA setup using your Phone, Click Next.

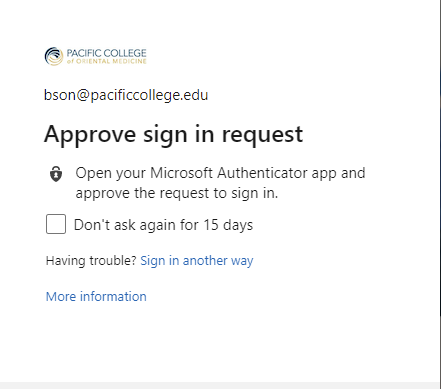
Step 6
The next time you sign it will show the below screen, make sure to click the box "Don't ask again for 15 days". So you will not have to provide another code till 15 days from your first sign-in with MFA.

Setting MFA using the Authenticator app
Step 1
The next time you sign in, you'll be prompted to provide more information. Click Next

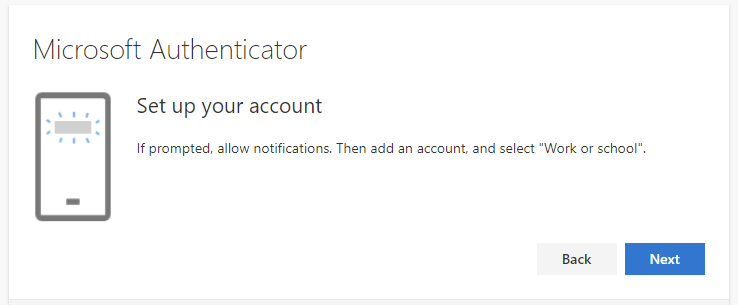
Step 2
- If you're using the Microsoft Authenticator click Next.
- If you're using another authenticator app select I want to use a different authenticator app.

Step 3
In this example, we will use the Microsoft Authenticator app.
Step 4
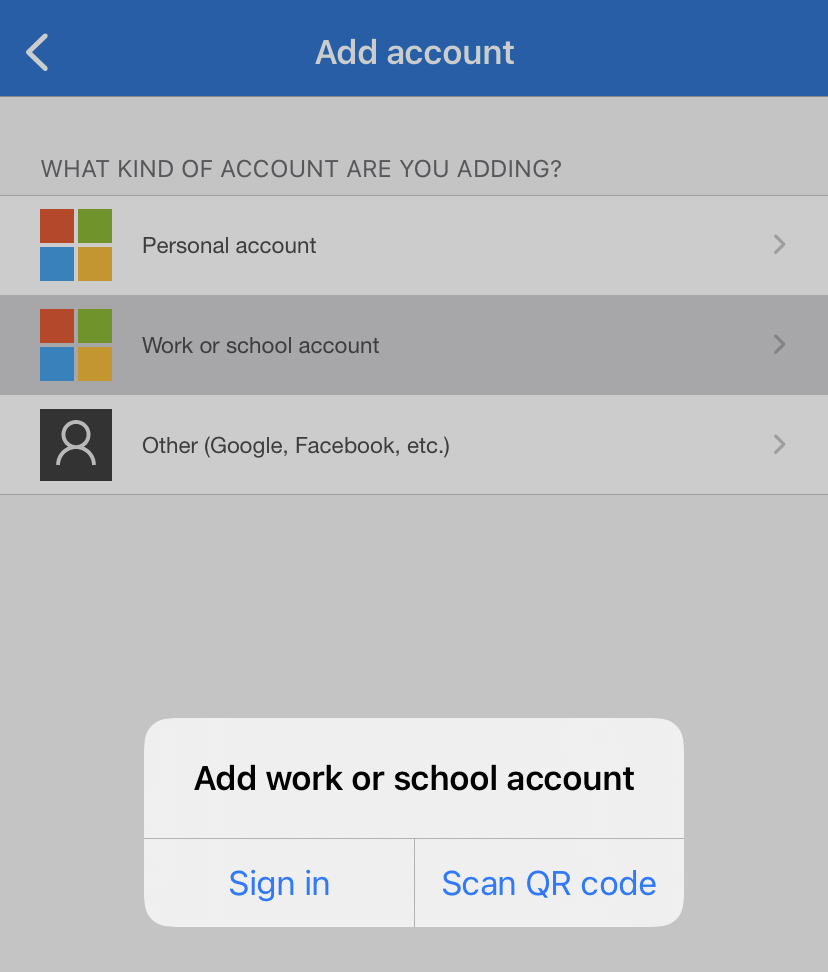
- Download the Microsoft Authenticator app on your mobile device. It can be downloaded on either an iOS device via the App Store or an Android device via the Play Store
- Once downloaded open the Microsoft Authenticator app on your mobile device then choose to add an account, and then select "Work or School Account" then choose "Scan QR code"
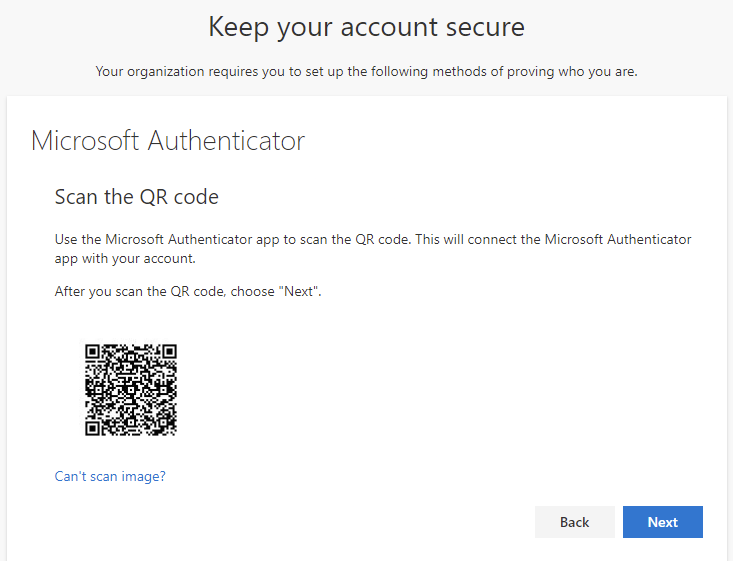
Step 5
Once asked, scan the QR code provided and select Next.
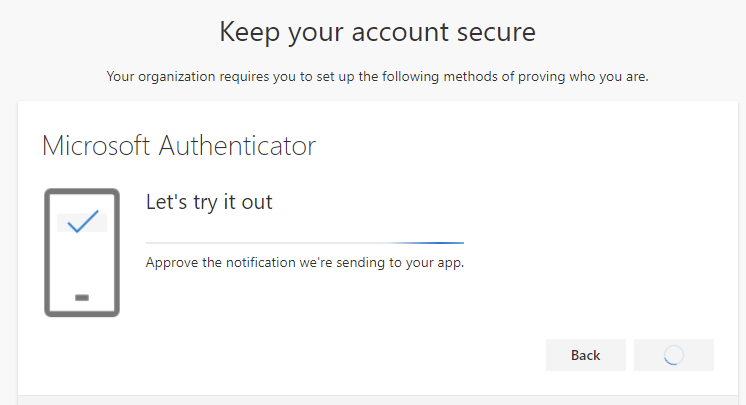
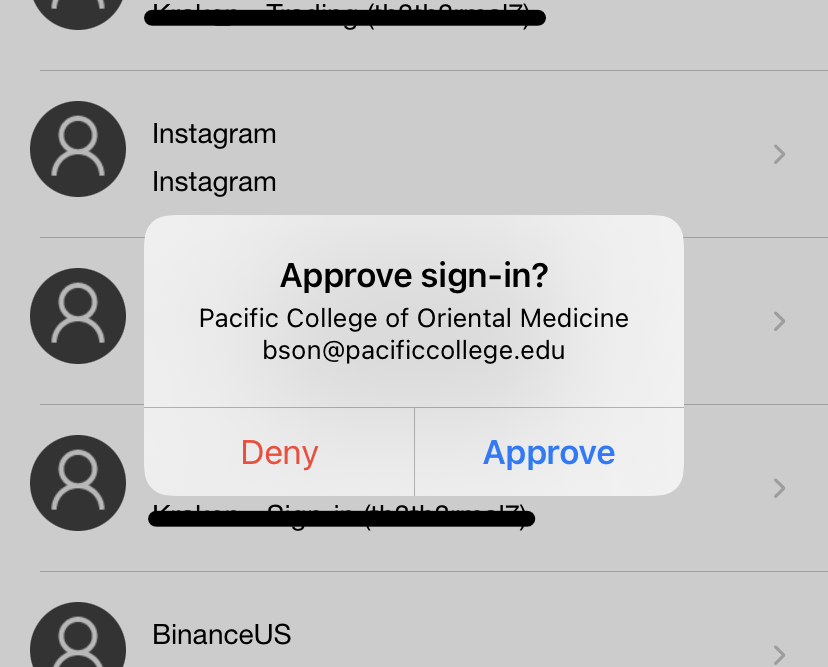
Step 6
At this point, a notification will be sent to your phone to accept the sign-in request, select Approve
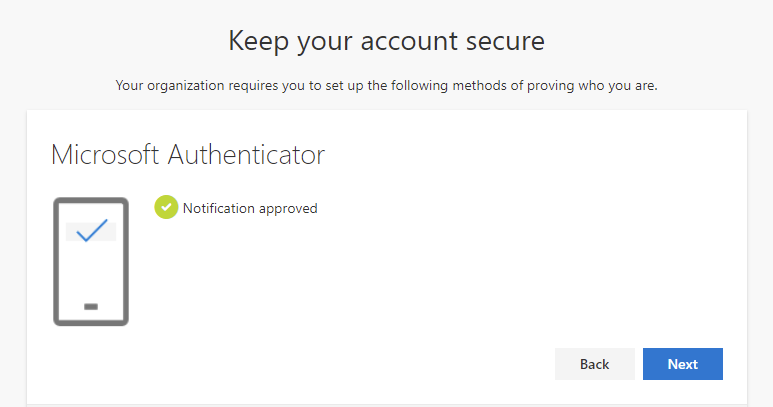
Step 7
The Microsoft Authenticator has been successfully added to your account.
Step 8
The next time you sign it will show the below screen, make sure to click the box "Don't ask again for 15 days". So you will not have to provide another code till 15 days from your first sign-in with MFA.